Tools you will need:
- Metal trowel
- Plasterers hawk
- Wooden trowel
- Polystyrene float
- Tape measure
- Shovel
- Soft brush
- Measuring jug
- Hose
- Bucket
- Wheelbarrow
- Sponge
- Masking tape
- Access to clean water
Follow these simple step-by-step instructions to use Cement Australia Low Carbon or General Purpose Cement to render blueboard or fibre cement sheeting.
Tools you will need:
Materials you will need:
If multiple batches of render are required to complete your job, it is worthwhile considering using a heavy duty drill and stirring attachment to make mixing easier and more consistent across batches.
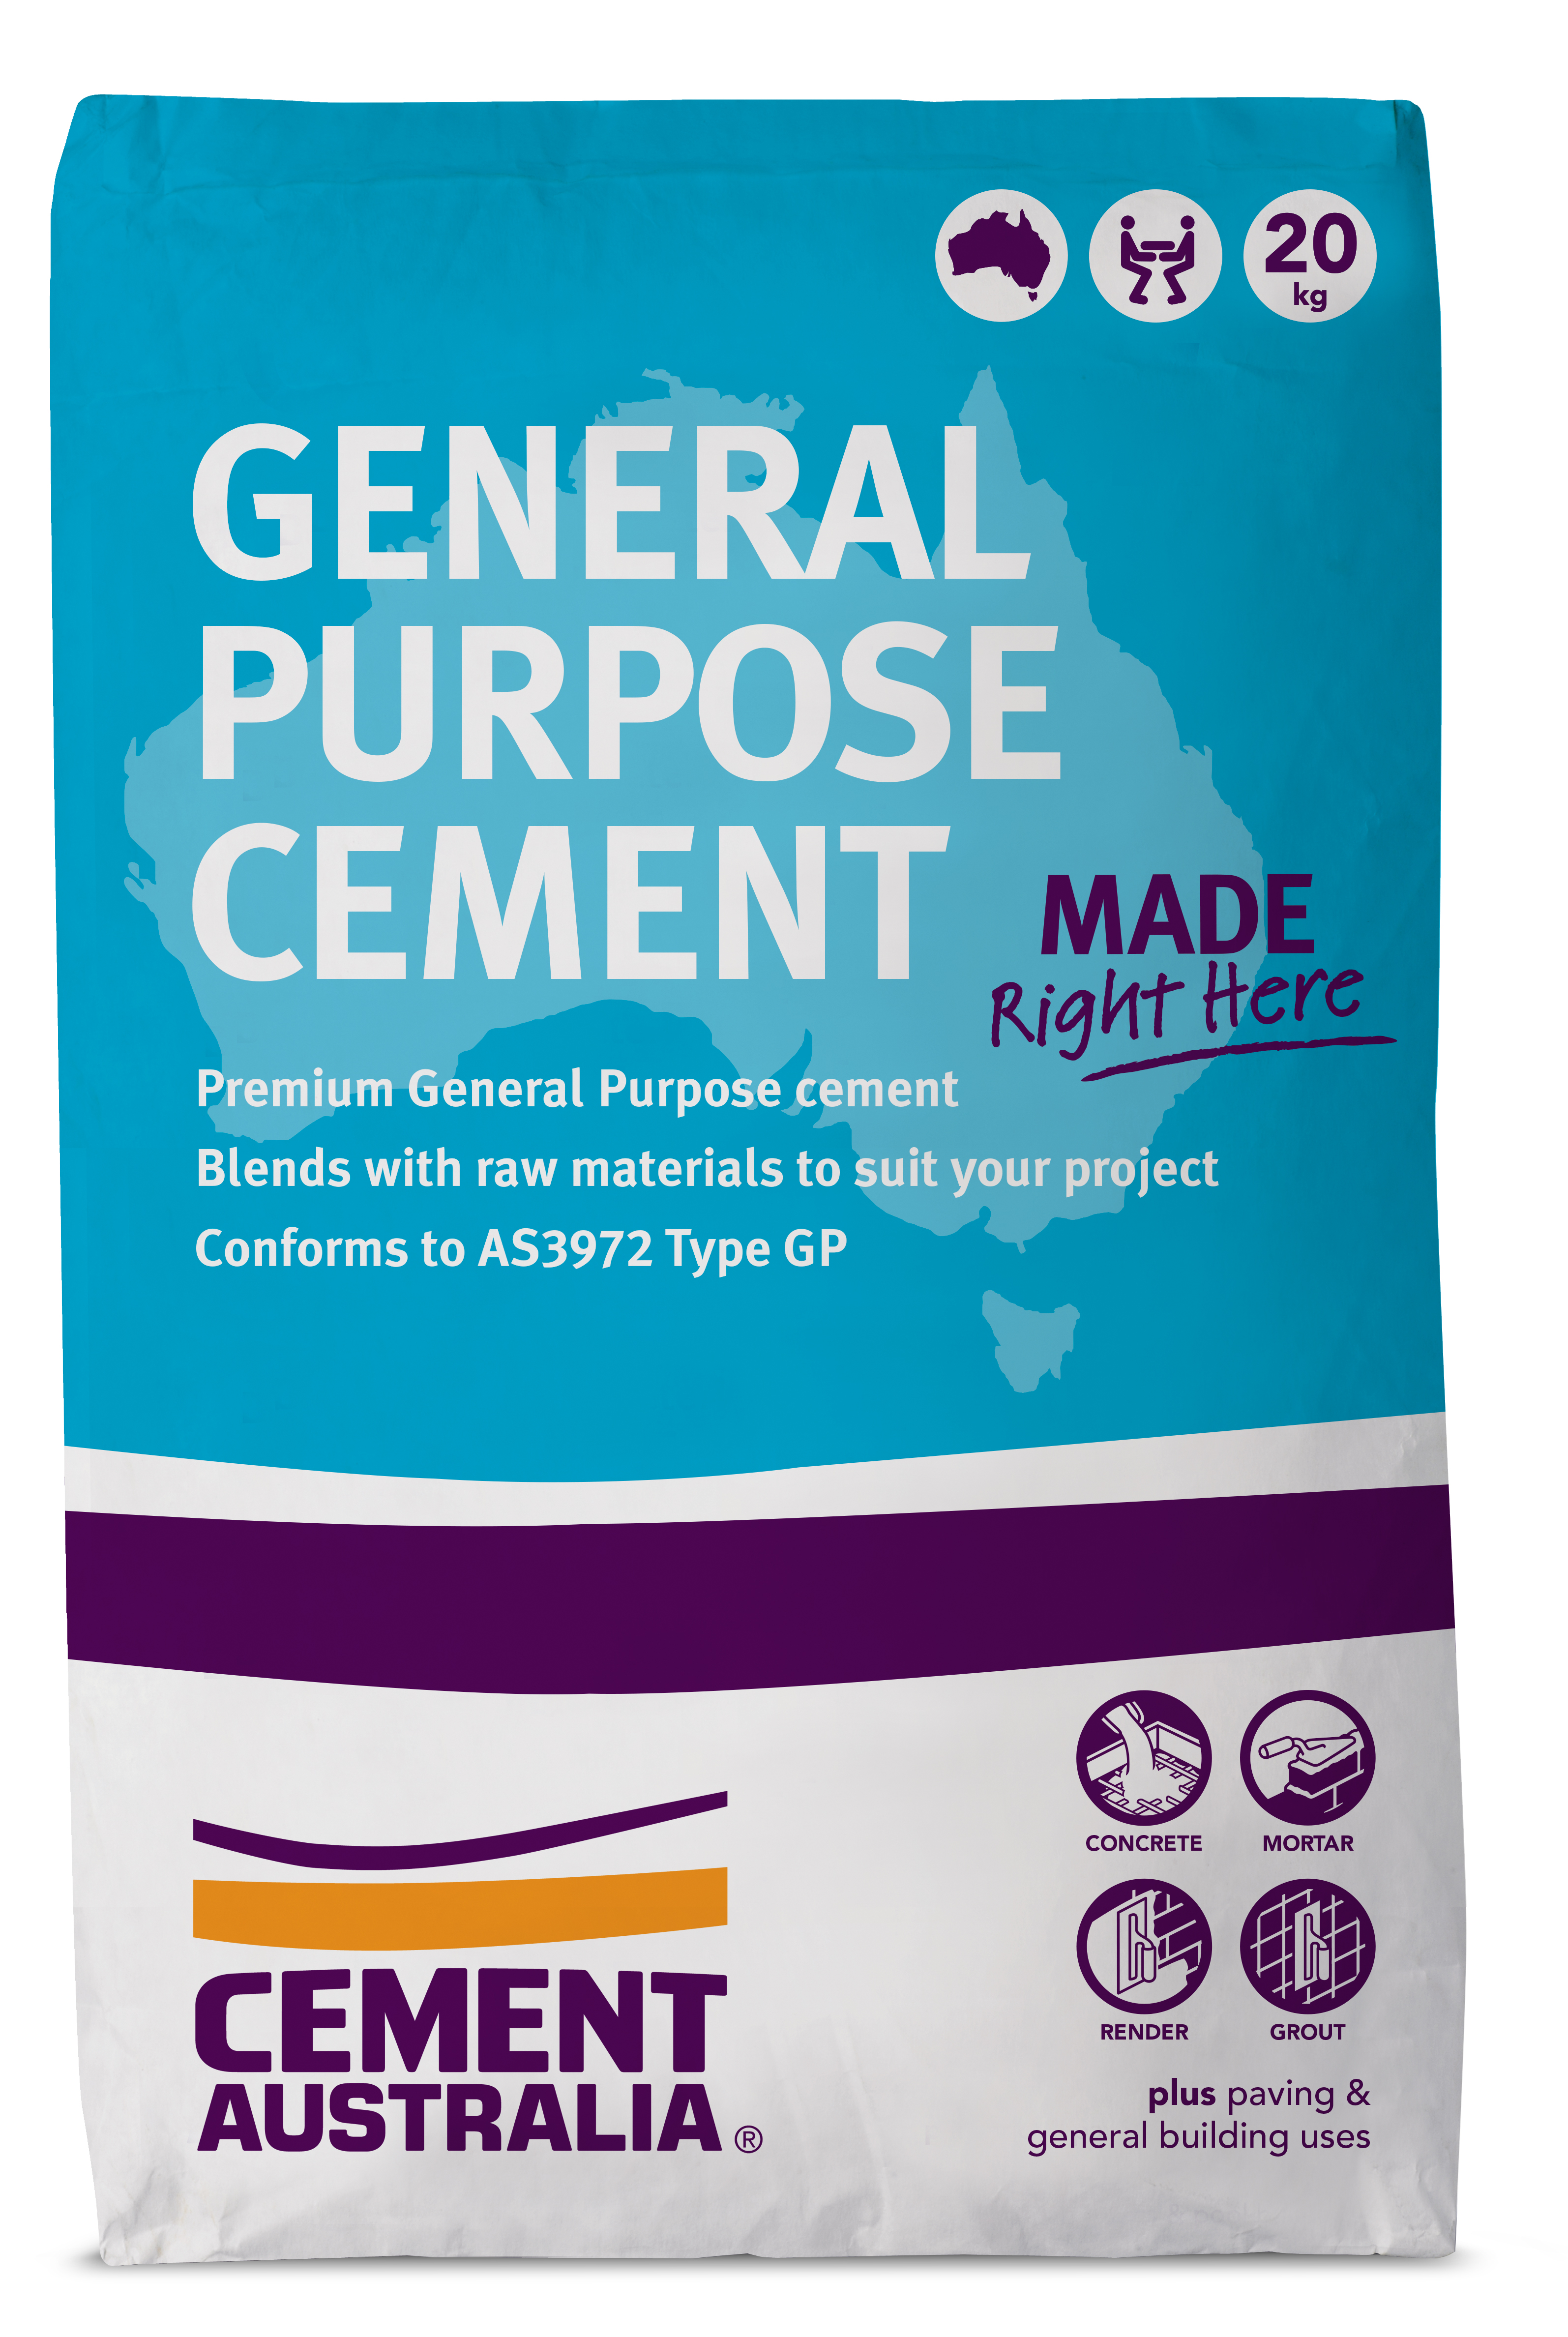
One part of Cement Australia Low Carbon or GP Cement for 3 parts of builders' sand is the suggested mix ratio.
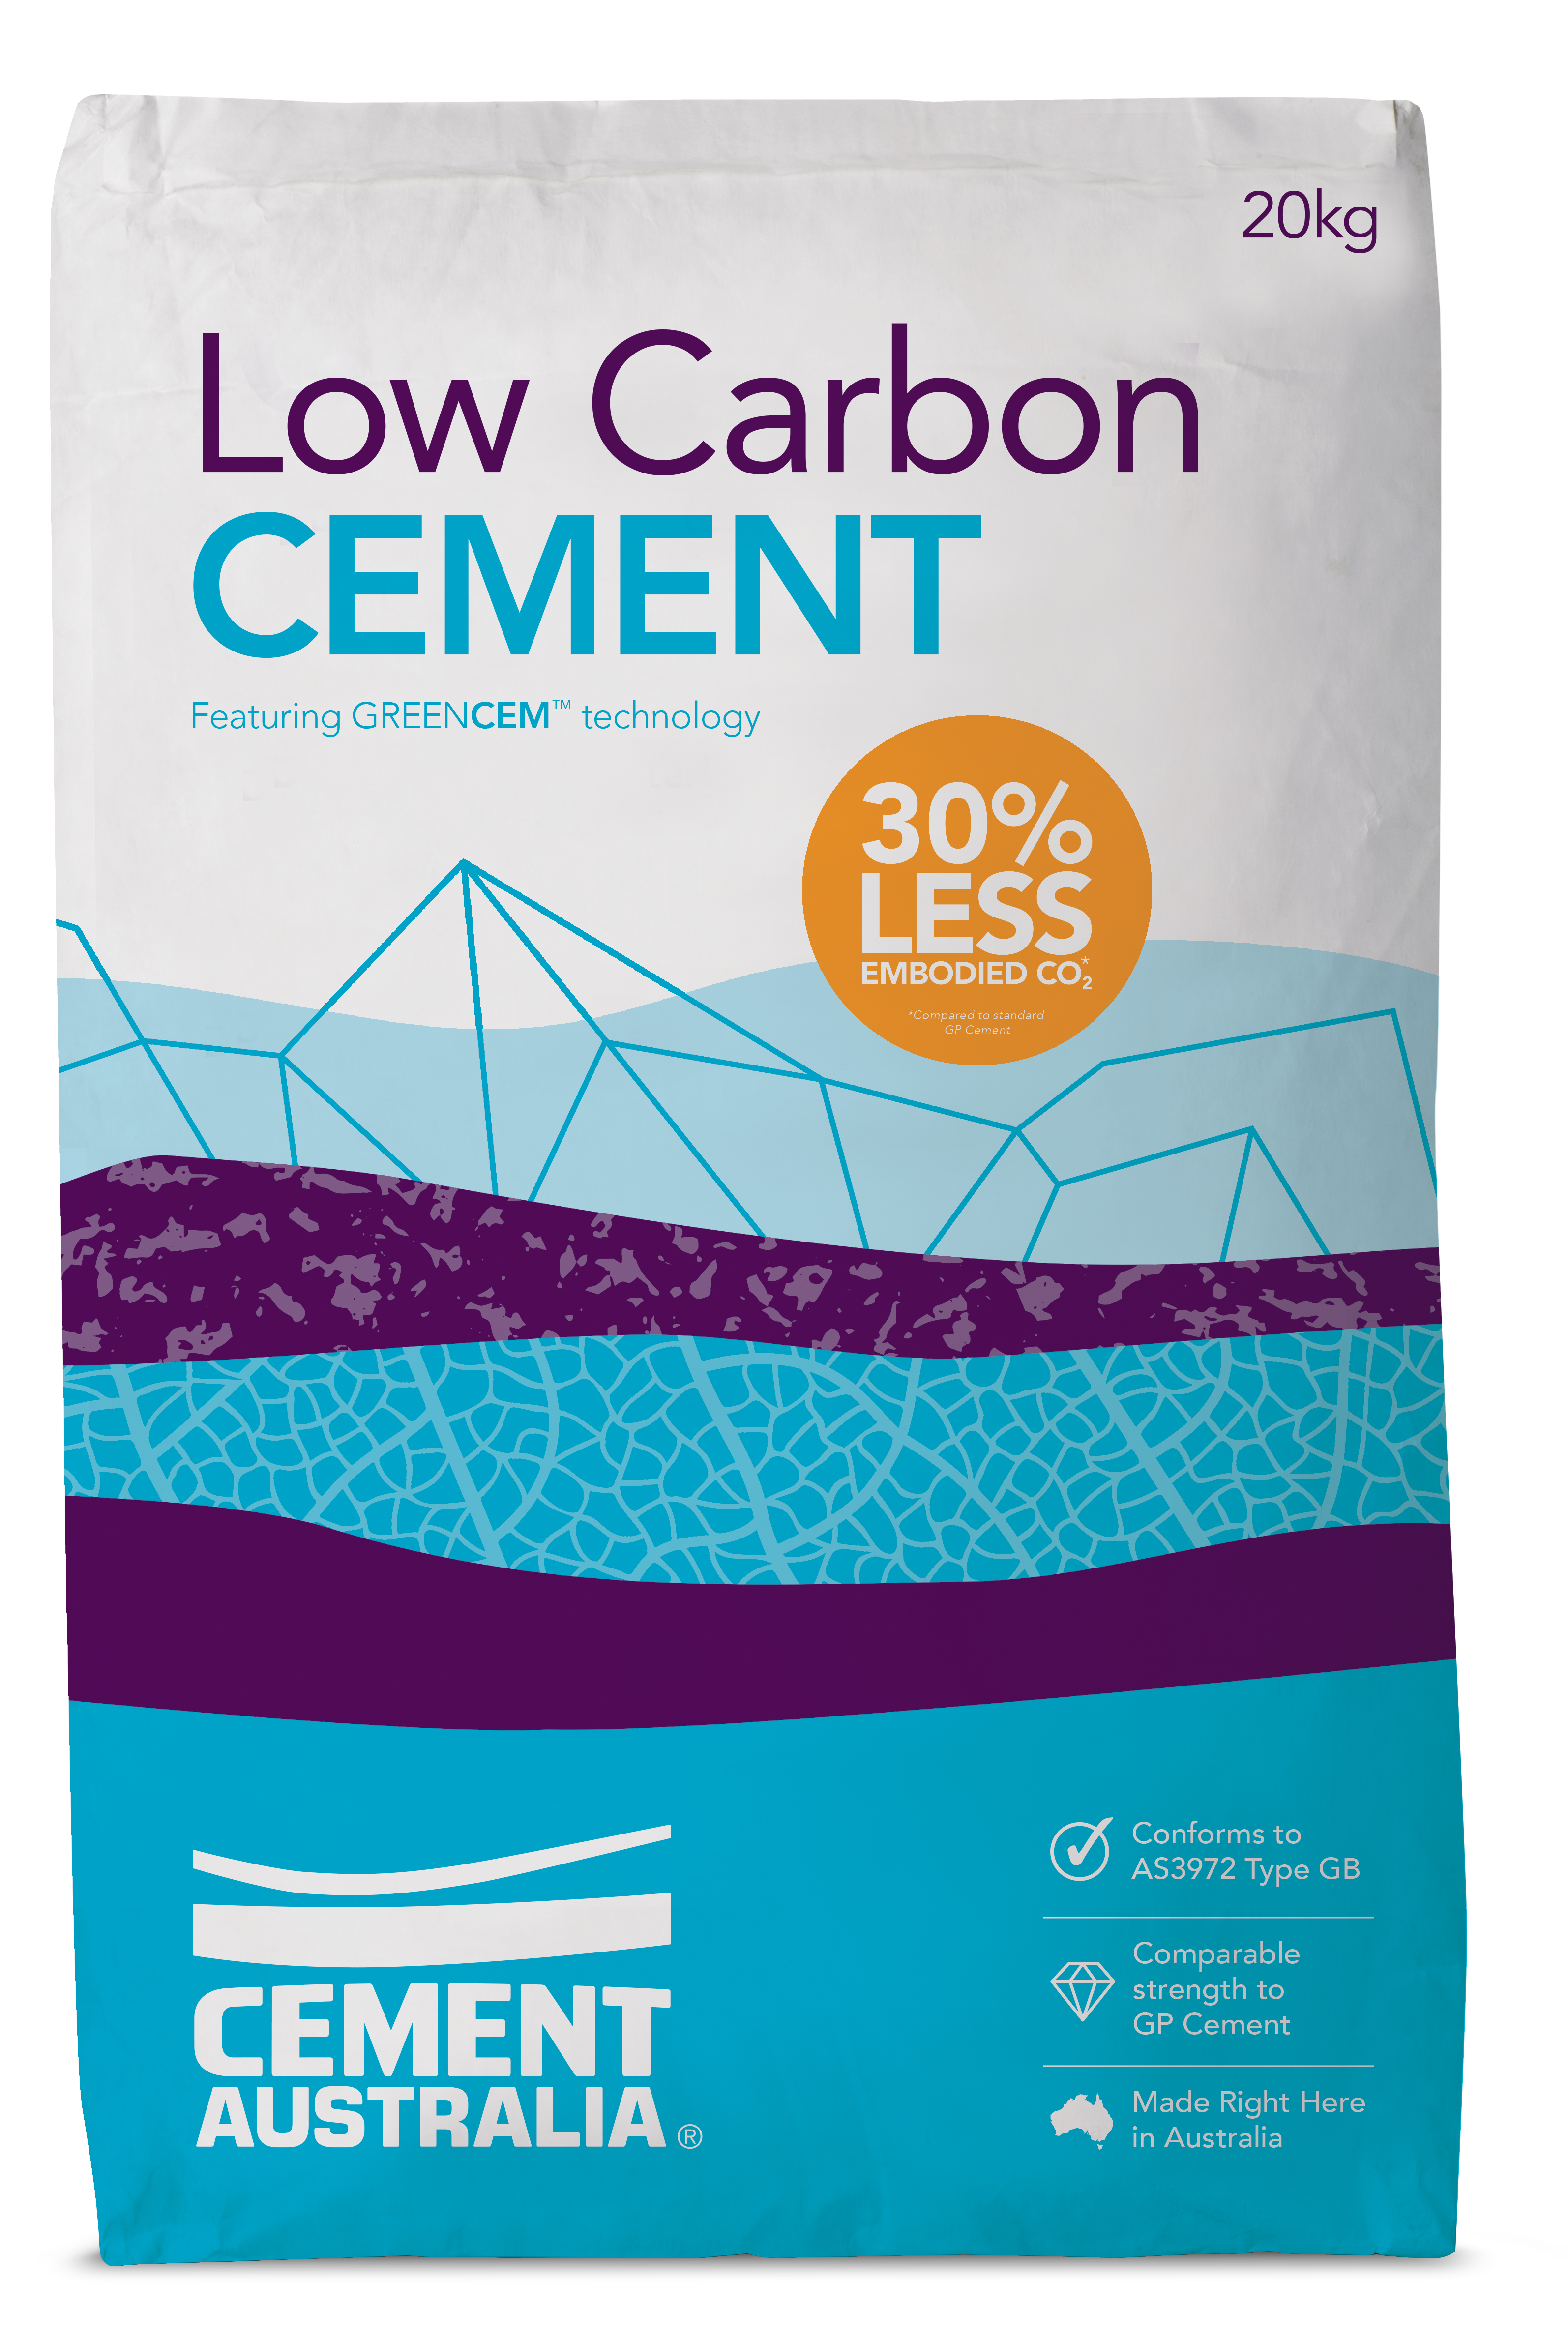
Cement Australia’s Low Carbon Cement, featuring GreenCem™ technology, is ideal for a range of construction applications as a direct replacement for standard General Purpose (GP) Cement.
Low Carbon Cement provides comparable strength capabilities to General Purpose (GP) Cement, with additional benefits such as lower permeability, enhanced durability, and improved workability. All with 30% less embodied CO2*.
Before you begin any project, please ensure you protect yourself with the following:
To protect the area from spilt render, cover paths or driveways with black plastic sheets and mask any other exposed surfaces you wish to keep clean.
Fix the corner beading to the external corners of the surface to be rendered using an approved adhesive ensuring the beading is straight and plumb to provide a neat rendered finish.
When rendering blueboard surfaces apply a 50mm fibreglass self adhesive tape along the joints between the sheets and other abutting structures to help prevent cracking and crazing. The tape is embedded in the joint ensuring that it does not bulge and a thin coating of render is plastered over it to the thickness of the recessed edges. This ensures a flush finish to accommodate subsequent applications of render.
Never wet blueboard prior to the application of the render mix as the coating will not adhere properly.
You can use the render mix to attach the beading to the external corner if you don't have an approved adhesive available. Apply a small amount of render to the inside of the beading, press it firmly to the corner and clean off the excess render that is squeezed out.
Add cement and sand in a 1 to 3 ratio adding water slowly until reaching the desired consistency and workability, ensuring that the render is lump free and is stiff so that it will sit on a trowel. Allow the mix to stand for 5 minutes so that the polymer chemicals are activated and then quickly stir the mix again. The render needs to be applied within 30 minutes of final mixing and any spilt render should be discarded.
A heavy duty drill mixer is recommended for large rendering jobs providing a more consistent mix, where manual mixing in a bucket or wheelbarrow is suitable for smaller projects.
Start at the bottom of the surface to be rendered and apply the render with a steel trowel in an upward pushing motion from left to right keeping an even flat finish. Ensure that you use long, even spreads upward and across the surface achieving a consistent and even thickness as you go. Fill any holes or divots with the render as you go. Do not overwork the surface as too much fine material will be brought to the surface increasing the likelihood of crazing (fine cracking). Float the surface in a circular motion ensuring that you do not drag or dig into the surface in achieving the desired finish.
The render can be applied in a thickness ranging from 2mm to 10mm in a single application. If subsequent coats of render are to be applied, the surface should be raked or scratched within 30 minutes of application to provide a rough surface to aid the adhesion of any subsequent coat. A minimum of 3 days must be left between coats to allow the render to develop maximum strength and prevent shrinkage cracks.
Allow the final layer of render to become firm and finish off with a wooden trowel or polystyrene float to smooth and finish the surface to the desired texture.
To achieve a different texture a damp sponge can be used to provide a swirl or use a fine brush to provide a swept finish ensuring that not too much pressure is applied to the rendered surface.
If these techniques are not giving you the definition you want in your finish, wait until the render becomes firmer and finish the surface again.
The rendered surfaced can be painted with water based paints after 14 days or after a minimum of 28 days where oil based paints are used.