Tools you will need:
- 2 Screed rails (20mm x 40mm box metal)
- Screed or straight piece of timber
- Spirit level
- Rubber mallet
- String line
- Hammer
- Brick bolster
- Tamping tool or compactor
- Wheelbarrow
- Shovel
- Rake
- Wooden float
- Tape measure
- Garden hose
Follow these simple step-by-step instructions to lay a paved area in your garden using Cement Australia Gap Sand & Concrete Mix.
Tools you will need:
Materials you will need:
For filling the joints between laid pavers, we recommend Cement Australia Gap Sand.
For haunching the edges of the area you pave we recommend Cement Australia Concrete Mix.

Before you begin any project, please ensure you protect yourself with the following:
Paved areas are mostly square or rectangular, triangular or circular. To determine the area to be paved please use the formulas below:
These formulas provide the square metres of the area to be paved and you will need this information to be able to order your bedding materials.
To determine the amount of bedding materials required to create the stable bed for your new paved area:
Mark out the area to be paved with a string line placing the timber pegs 50mm beyond the end of the paving to minimise the impact on the string line when digging the ground. Excavate the area to be paved to the depth of the paver plus 100mm for the compacted road base and 50mm for the compacted bedding sand (i.e. 150mm in total).
Ensure that the base is gently sloped away from any nearby buildings allowing for a fall of 20mm per metre.

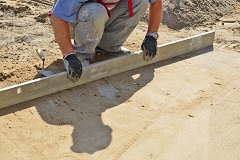
Tip the road base into the area to be paved spreading it evenly to a depth of 110mm using a screed allowing for 10mm settlement when compacting. Compact the road base with a tamping tool thoroughly wetting the road base to ensure it compacts hard. Set the screed rails at the ends of the area to be paved to ensure that the base has the desired fall.

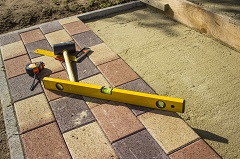
Place the bedding sand on top of the compacted road base to a depth of 60mm allowing for 10mm settlement as the pavers are placed on top. Set up the screed rails (20mm x 40mm box metal) at each end of the area to be paved using wooden stakes and level the bedding sand.
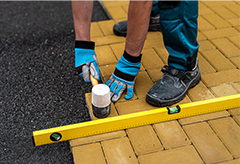
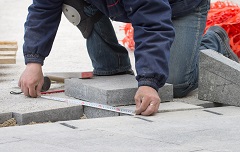
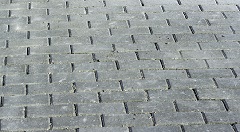
Lay the pavers in rows according to the pattern that you have chosen ensuring that they are level with each other using a rubber mallet. Butt joint the pavers together leaving a 3mm gap between them continually checking for level with a spirit level.
As you pave the area, you can rest on the pavers that have already been laid.
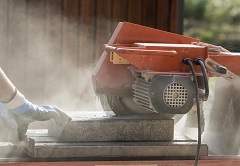
When there are spaces requiring less than a standard paver length, measure and make the required cuts to the paver using a brick bolster. Ensure that the cut pavers fit neatly and are butt jointed to the adjacent pavers.
For larger jobs it is worthwhile hiring a diamond bricksaw for cutting pavers.
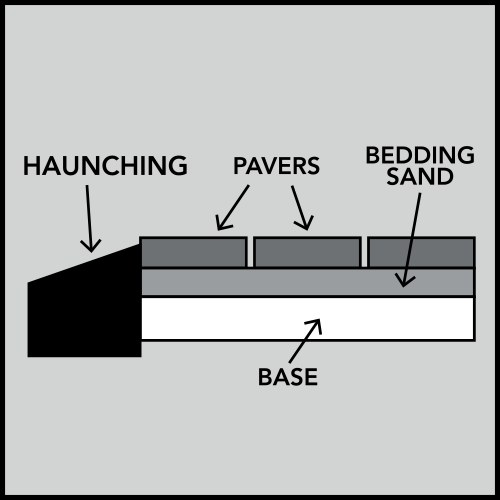
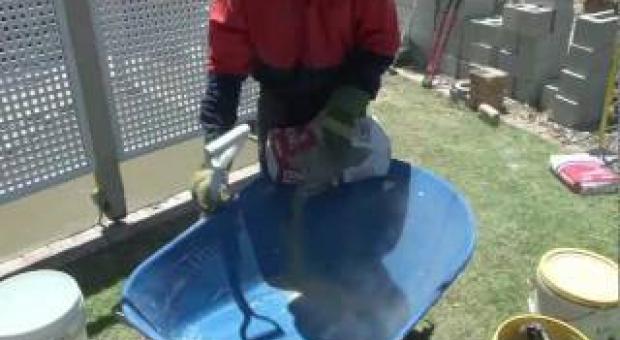
Haunching the edges locks the pavers into place to prevent them loosening or dislodging from their intended position. Dig a trench along the edge of the paving deeper than the bedding sand and road base. In a wheelbarrow, mix one 20kg bag of Concrete Mix with 2.5 litres of clean water with a shovel and using a trowel place the mixed concrete up against the side of the pavers in the trench you have dug. Angle the surface of concrete half way up the side of the paver and smooth the surface using a wooden float.
Ensure that the concrete does not go under the pavers or onto the surface of the pavers and if it does remove it immediately.
Leave this haunching to set for 24 hours before compacting the pavers.
Ensure that you leave space for the soil, turf or other finish that will added
Basics of how to mix Cement Australia Concrete Mix
Spread Gap Sand over the full surface of the pavers and work the Gap Sand into the joints using a broom.
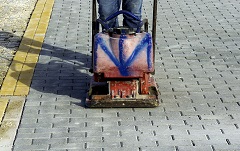
To compact the bedding sand, use a compactor for larger paved areas or a rubber mallet for smaller areas. Sweep off any excess sand. To activate the additive in the Gap Sand, use a hose on a light spray setting to thoroughly wet the whole paved area. Be careful to avoid any flooding or directly hosing any joint which will wash the Gap Sand out of the cracks.
Allow 3 days for the concrete to harden and the Gap Sand to bond the pavers into place before using the paved area.